That quiet, unsettling sound in the walls isn’t just your house settling-it could be the sound of your single largest investment being eaten from the inside out. Each year, termites cause over $5 billion in property damage, an insidious threat that often goes unnoticed until it’s too late, making effective DIY termite treatment a critical skill for any homeowner. You can take control, protect your home, and save thousands of dollars by learning how to create a professional-grade defensive barrier yourself.
How do you apply Taurus SC for DIY termite trenching?
To apply Taurus SC, you must dig a 6-inch wide by 6-inch deep trench around your home’s foundation. Next, mix 0.8 fluid ounces of Taurus SC per gallon of water and apply the solution at a rate of 4 gallons for every 10 linear feet of the trench, ensuring complete soil saturation.
Understanding Termites: The Silent Destroyers in Your Walls
Before you can fight the enemy, you must understand it. Termites are not just pests; they are highly organized social insects that operate in vast colonies, often numbering in the millions. Their entire existence revolves around consuming cellulose-the organic fiber found in wood and plant matter. Unfortunately, the timber that frames your home is their ideal food source. The most common threat to homeowners in the United States is the subterranean termite. These insects build their nests underground and create intricate networks of tunnels to forage for food, meaning they attack your home from below, out of sight.
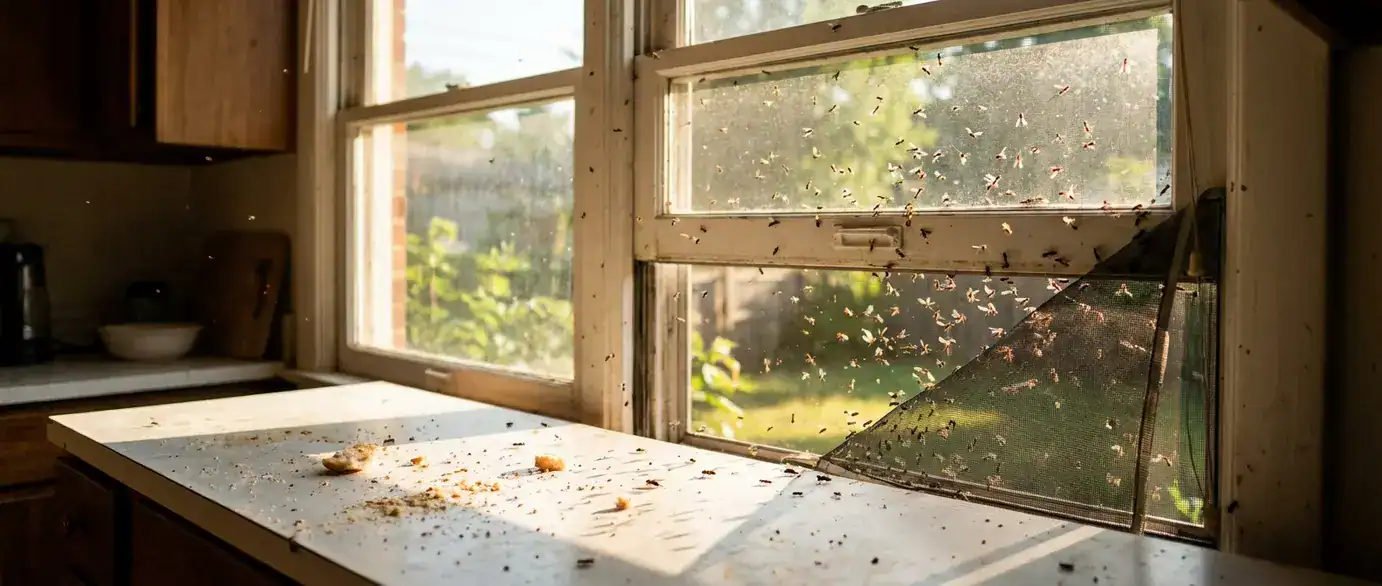
Other types include Drywood termites, which live directly inside the wood they infest, and the notoriously aggressive Formosan termites, a type of subterranean termite capable of causing catastrophic damage in a short time. Knowing what do termites look like can be your first line of defense. They are often confused with flying ants, but a key difference is that termites have straight antennae, a broad waist, and wings of equal size, whereas ants have elbowed antennae, a pinched waist, and unequal wings. Recognizing these differences is vital for early detection and preventing widespread termite damage.
Recognizing the Telltale Signs of a Termite Infestation
Catching an infestation early can save you from thousands of dollars in repairs. Because termites are so secretive, you need to be a detective, actively looking for the subtle clues they leave behind. Ignoring these signs of a termite infestation can lead to severe structural issues.
Here are the primary red flags to watch for:
- Mud Tubes: Subterranean termites build pencil-sized tunnels from soil, wood, and saliva to travel from their underground colony to your home’s wood. Check your foundation, crawl spaces, and support piers for these telltale signs.
- Hollow-Sounding Wood: Tap on wooden beams, baseboards, and window sills. If an area sounds hollow or papery, it may indicate that termites have eaten the wood from the inside out, leaving only a thin veneer.
- Discarded Wings: After swarming to mate, termites shed their wings. You may find small piles of these delicate, translucent wings on windowsills, near doors, or in spiderwebs. This is often the first visible sign of a nearby colony.
- Frass (Termite Droppings): Drywood termites push their feces, called frass, out of small holes in the wood they are infesting. This material looks like tiny, hexagonal pellets and can accumulate in small mounds.
- Warped Doors and Stiff Windows: As termites consume wood, they produce moisture that can cause wood to warp. If your doors or windows suddenly become difficult to open, it could be a sign of termite activity.
Introduction to Taurus SC: The Professional’s Choice for DIYers
When it comes to effective DIY termite solutions, not all products are created equal. Taurus SC stands out as one of the best termite treatment products for homeowners because it uses the same active ingredient, Fipronil, trusted by professional pest control companies like Terminix and Orkin. It’s a non-repellent insecticide, which is its most powerful feature.
Unlike repellent chemicals that termites can detect and avoid, they pass through Taurus SC unknowingly. They then carry it back to the colony on their bodies, spreading it to other termites through contact and grooming. This “transfer effect” is what makes it so devastatingly effective, as it can wipe out the entire colony, including the queen. This makes it a superior choice over many home remedies for termite control that only kill termites on contact without addressing the source.
Your Step-by-Step Termite Trenching Guide to Applying Taurus SC
Executing a successful do it yourself termite treatment requires precision and adherence to safety protocols. This step-by-step termite trenching guide will walk you through the entire process, from preparation to post-application monitoring.
1. Preparation: Assembling Your Tools and Safety Gear
Before you begin, gathering the right equipment is essential for a safe and effective application. Do not cut corners on safety-you are handling a powerful insecticide.
Required Tools & Materials:
- Taurus SC Termiticide
- 5-Gallon Bucket (for mixing)
- Pump Sprayer or a dedicated trenching and rodding application tool
- Shovel or Trenching Tool
- Measuring Cup
- Funnel
Personal Protective Equipment (PPE):
- Chemical-Resistant Gloves
- Safety Goggles or a Face Shield
- Long-Sleeved Shirt and Long Pants
- Waterproof Boots
- NIOSH-Approved Respirator (especially if working in enclosed areas like a crawl space)
Safety First: Always read the entire product label before starting. The label is the law and contains critical information on the safe application of Taurus SC. Keep children and pets away from the treatment area during and after application until the product has completely dried.
2. The Foundation of Defense: DIY Termite Trenching Techniques
The goal of trenching is to create a continuous, unbroken chemical barrier in the soil around your home’s foundation. Gaps in this barrier are potential entry points for termites.
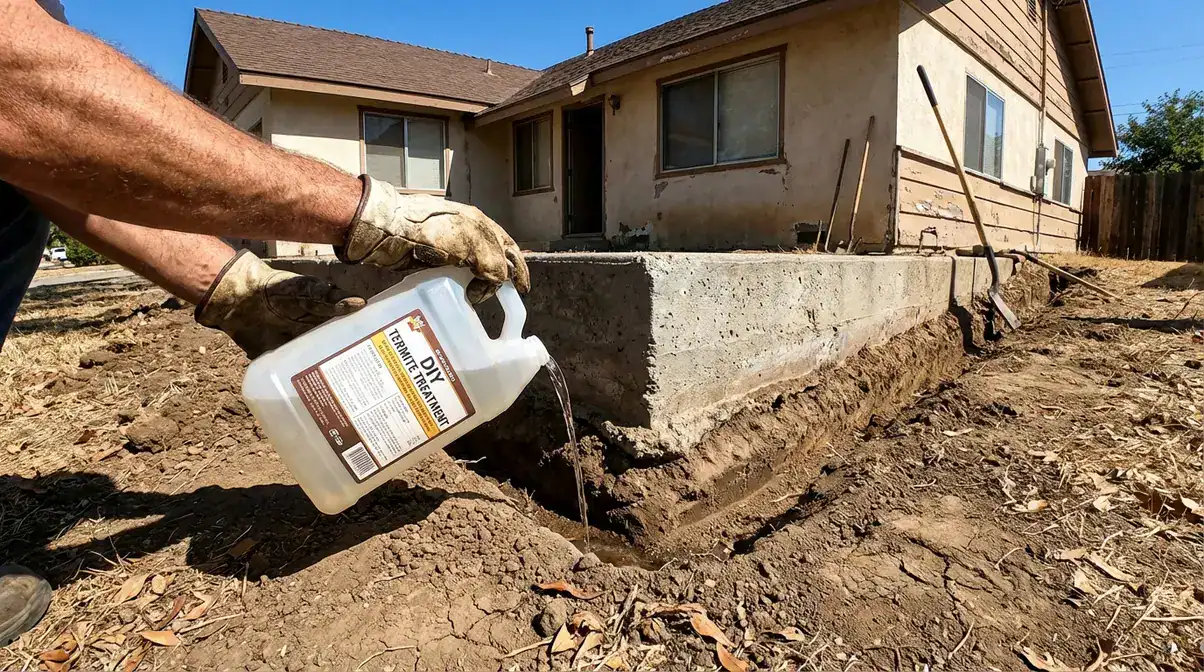
- Dig the Trench: Using your shovel, dig a trench directly against your foundation. The standard and most effective dimension for this trench is 6 inches wide and 6 inches deep. For homes with a concrete slab foundation, the trench should be dug to the bottom of the slab footing.
- Handle Obstacles: If you encounter concrete patios, driveways, or walkways abutting the foundation, you cannot simply trench around them. You must drill through the concrete every 12 inches using a hammer drill and a 1/2-inch concrete bit. The termiticide will be injected into these holes to treat the soil underneath.
- Soil Management: Place the soil you remove from the trench on a plastic tarp next to the trench. This soil must also be treated as you backfill, ensuring the entire area is protected.
3. Mixing and Application: Getting the Ratios Right
Precision is key to creating a lasting barrier. Improperly mixed solution will not be effective and may pose environmental risks.
- Calculate Your Needs: First, measure the linear feet around your home’s perimeter. The standard application rate is 4 gallons of finished solution per 10 linear feet of trench. For a 200-foot perimeter, you would need 80 gallons of solution (200 / 10 * 4).
- The Mixing Ratio for Taurus SC: The correct mixing ratio is 0.8 fluid ounces of Taurus SC concentrate per 1 gallon of water. To make 4 gallons of solution for a 10-foot section, you would add 3.2 fl oz (4 x 0.8) of Taurus SC to 4 gallons of water in your 5-gallon bucket.
- Application Process:
- Pour half of the required solution (2 gallons for a 10-foot section) directly into the bottom of the trench. Allow it to soak into the soil.
- Begin backfilling the trench with the soil you removed. As you add the soil back, use the remaining 2 gallons of solution to saturate it. Mix the soil with a small rake or tool to ensure even distribution.
- For drilled concrete areas, apply the solution at the same rate of 4 gallons per 10 linear feet, distributing it evenly among the holes in that section. Use a funnel to avoid spillage.
Understanding how to apply termite pesticides correctly is the most critical part of this project. A rushed or uneven application will compromise the entire treatment.
4. Environmental Impact and Safety Considerations
While Taurus SC is a highly effective insecticide for termite management, it must be handled responsibly. The active ingredient, Fipronil, can be toxic to fish and aquatic invertebrates. Therefore, never apply it near wells, cisterns, or bodies of water, and prevent runoff into storm drains.
A common question is whether Taurus SC is safe for pets. Once the application has completely dried, it is considered safe for pets and people to be in the treated area. However, during the mixing and application process, all pets and people must be kept away. If you have edible plants or a vegetable garden near your foundation, it’s crucial to ensure no spray drift or runoff reaches them. The health risks with termite pesticides are minimized by strictly following the product label and wearing the proper PPE.
5. Post-Application: Monitoring and Long-Term Prevention
Your work isn’t done once the trench is filled. A successful DIY termite treatment plan includes ongoing vigilance.
- Regular Inspections: Every 3-6 months, walk the perimeter of your home and inspect for any new signs of termite activity, specifically new mud tubes.
- Address Moisture Issues: Termites are attracted to moisture. Ensure your gutters and downspouts direct water away from the foundation. Fix any leaky pipes or faucets immediately.
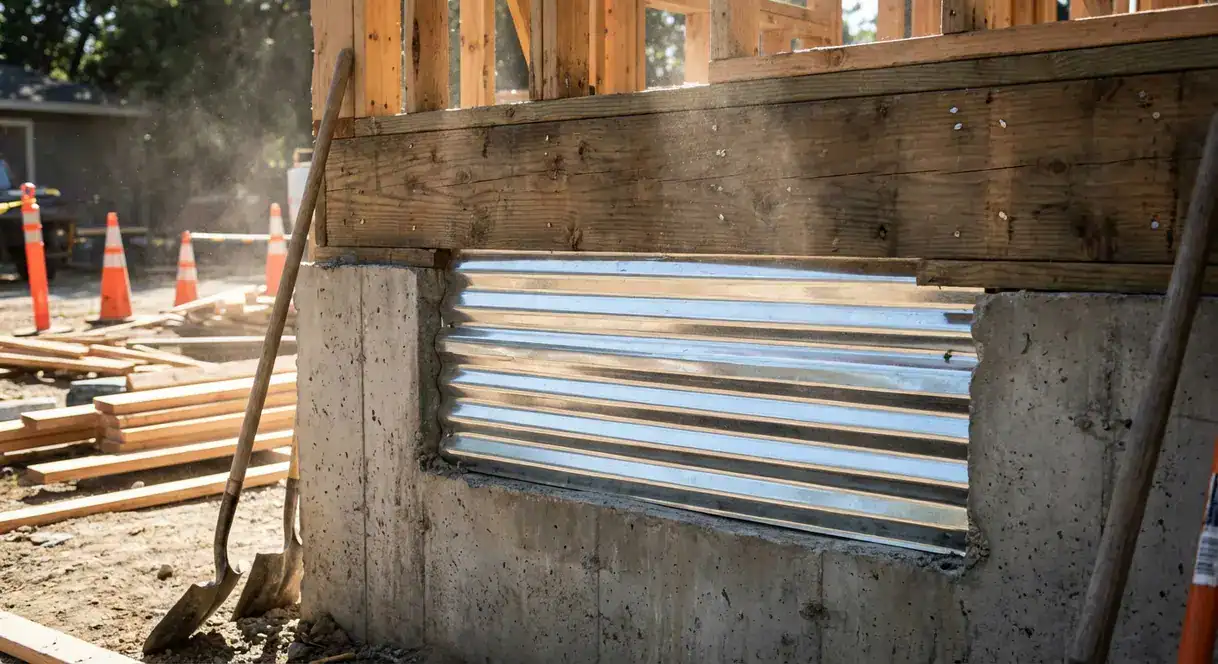
- Eliminate Wood-to-Soil Contact: Any wood touching the ground provides a direct highway for termites into your home. Siding, deck posts, or even firewood stacked against the house should be removed or placed on a concrete base. Proper outdoor termite prevention is just as important as the chemical barrier.
Troubleshooting Common DIY Termite Treatment Failures
Even with careful planning, issues can arise. Knowing how to solve them ensures your efforts are not wasted.
- Problem: Uneven Trench Depth. If your trench isn’t consistently 6 inches deep, the chemical barrier will be weak in shallow spots.
- Solution: Before applying the termiticide, use a measuring tape to check the depth every few feet. Correct any shallow areas.
- Problem: Clogged Sprayer. Soil or debris can clog your pump sprayer, disrupting the application.
- Solution: Use a filter or funnel when filling your sprayer. If it clogs, safely depressurize it, clear the nozzle, and resume.
- Problem: Miscalculating the Amount of Product. Running out of Taurus SC halfway through the job creates a massive gap in your defenses.
- Solution: Double-check your linear footage and calculations before you start. It’s always better to have a little extra than not enough. This is a common issue when dealing with termite treatment failures.
- Problem: Not Treating Backfilled Soil. Simply pouring the chemical into the trench and then covering it with untreated soil is a critical error.
- Solution: Remember the 50/50 rule: half the solution in the bottom of the trench, and the other half used to saturate the soil as you backfill. Interpreting termite treatment product labels correctly will reinforce this step.
Cost Analysis: DIY Treatment vs. Hiring a Professional
One of the biggest motivators for a do it yourself termite treatment is the potential for significant savings. The cost-effective termite treatment you perform can provide the same protection as a professional service for a fraction of the price.
| Expense Category | DIY Termite Treatment Cost | Professional Termite Extermination Cost |
| Termiticide (Taurus SC) | $70 – $90 per 20 oz bottle (treats ~160 linear feet) | Included in Service |
| Tools & Safety Gear | $50 – $150 (one-time purchase) | Included in Service |
| Labor | Your time (typically 6-12 hours) | Included in Service |
| Total Estimated Cost (for a 200 ft perimeter) | $150 – $300 | $1,200 – $3,000+ |
As the table shows, the cost of professional termite extermination can be ten times higher than a DIY approach. While professionals offer a warranty and handle the labor, the significant cost savings make DIY termite treatments an attractive and effective option for diligent homeowners.
Common Questions About DIY Termite Trenching: How to Apply Taurus SC Safely
How deep should I trench for termites?
You should dig a trench that is a minimum of 6 inches deep and 6 inches wide. This standard dimension ensures there is enough treated soil to create a formidable and lasting chemical barrier that subterranean termites cannot bypass on their way to your foundation.
Are DIY termite treatments effective?
Yes, DIY termite treatments are highly effective when performed correctly using professional-grade products like Taurus SC. The effectiveness of DIY methods hinges on meticulous application, including proper trenching depth, correct mixing ratios, and ensuring a continuous, unbroken barrier around the entire foundation.
Is it safe to use Taurus SC indoors?
No, you should never use Taurus SC indoors. Taurus SC is strictly labeled for outdoor use as a perimeter treatment. Using it inside your home is a violation of federal law and can pose significant health risks. For indoor termite issues, you should consult a professional or use products specifically labeled for indoor application.
How long does it take for termite treatment to work?
A liquid barrier treatment like Taurus SC begins working immediately, but it can take up to 90 days to eliminate the entire colony. The non-repellent nature allows termites to spread the product throughout the colony, a process that takes time to reach and kill the queen, which is necessary for complete colony collapse.
How can I prevent termites from coming back?
To prevent termites from coming back, maintain your chemical barrier and make your property less attractive to them. This includes fixing moisture issues, ensuring proper drainage, eliminating all wood-to-soil contact around your foundation, and conducting regular inspections for new signs of activity like mud tubes.
References & Expert Sources
- Environmental Protection Agency (EPA) – Termite Identification and Control
- Terminix – Professional Termite Control Services
- Orkin – Termite Treatment Options
- Reddit – r/pestcontrol Community Discussions
- University of Kentucky Entomology. Termite Identification and Biology.
- University of Maryland Extension. Termites in the Home (Fact Sheet).
- U.S. Fish and Wildlife Service. Pesticide Wildlife Stewardship.
Final Thoughts: Empowering Yourself to Protect Your Home
Taking on a DIY termite treatment project is more than just a cost-saving measure; it’s an act of empowerment. By understanding the threat, learning the proper techniques, and meticulously applying a professional-grade product like Taurus SC, you are taking direct control over the safety and integrity of your home. The time commitment for DIY termite solutions is a small investment compared to the peace of mind and financial security that comes from knowing your home is protected by a powerful, long-lasting barrier you created yourself. We encourage you to take these preventive measures seriously and protect your investment for years to come.