


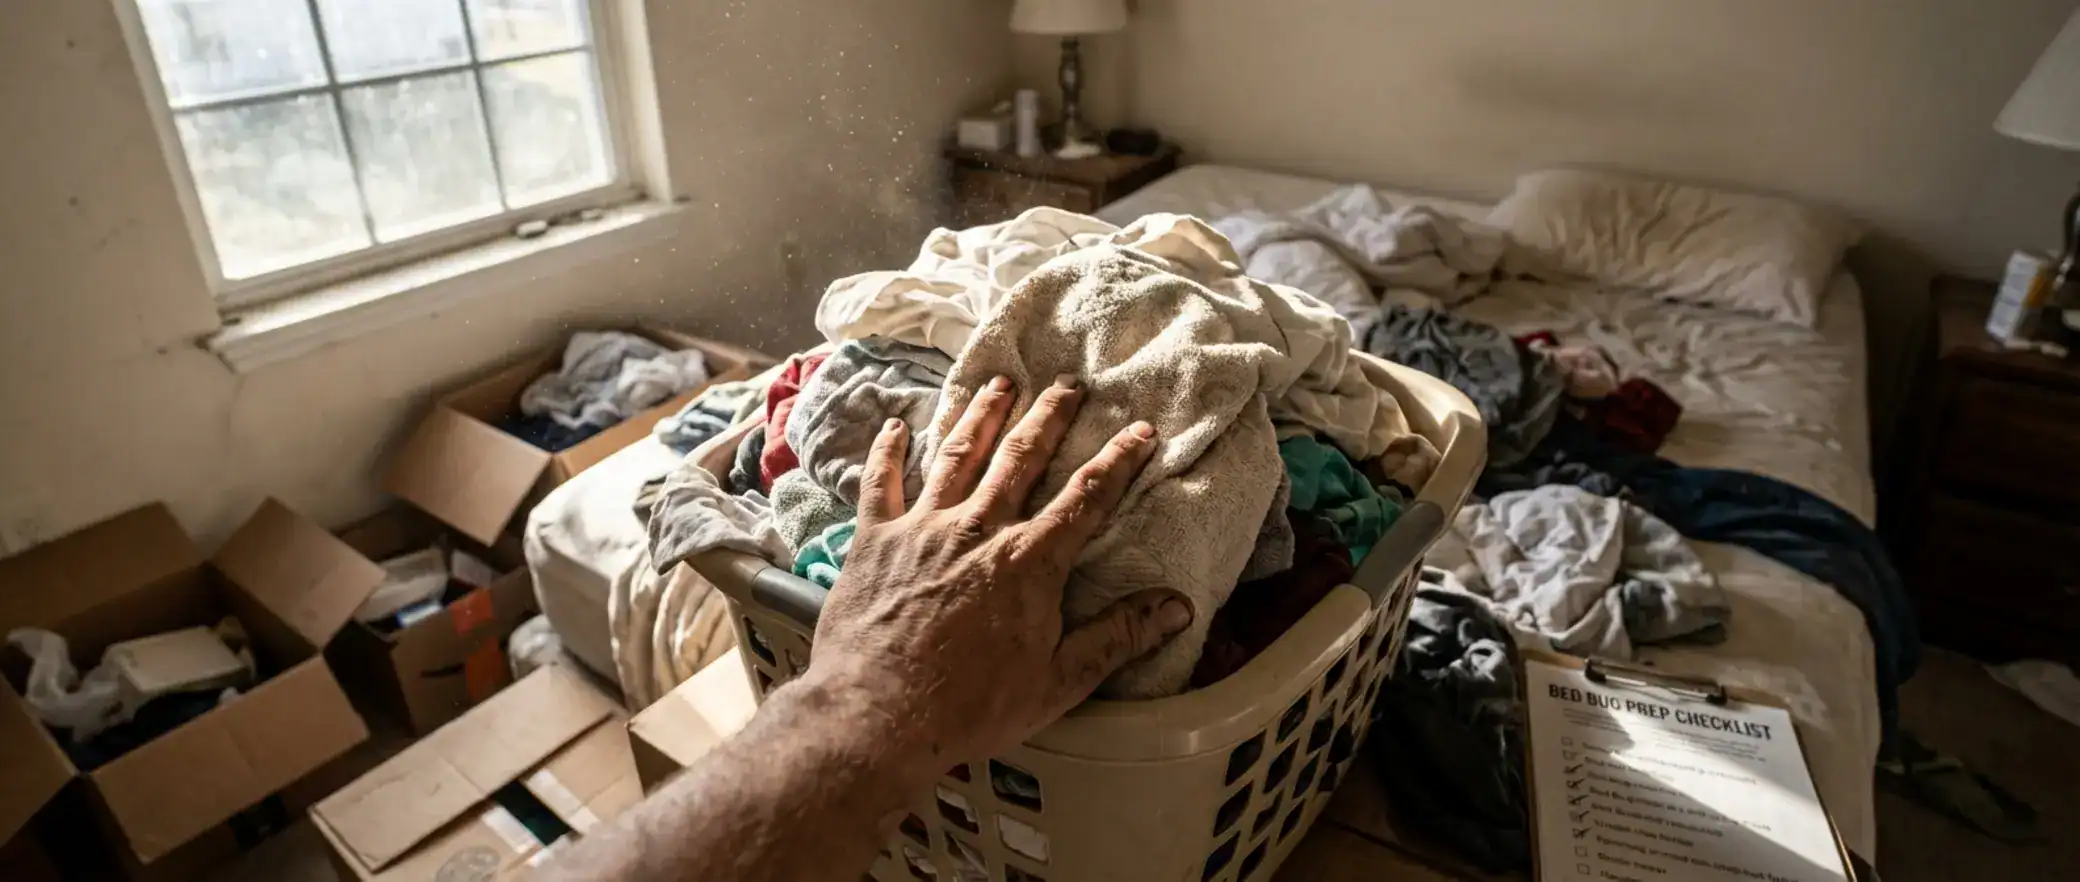
The sinking feeling in your stomach is real when you suspect bed bugs, and the anxiety about having bed bugs in the home can be overwhelming. You’ve made the smart choice to hire professionals, but now you need a solid bed bug prep checklist to ensure the treatment actually works. Poor preparation is a primary reason that even the most effective heat treatments fail, potentially costing you thousands in re-treatments and prolonging the nightmare.
How Do You Prepare for a Bed Bug Heat Treatment?
To prepare for a professional bed bug heat treatment, you must declutter all areas, launder and dry all fabrics on high heat, vacuum thoroughly, and remove or protect heat-sensitive items. Proper heat treatment for bed bugs preparation ensures hot air circulates freely, reaching the lethal temperatures needed to kill all bed bugs and their eggs.
Understanding the Science Behind Professional Heat Treatment
Before diving into the checklist, it’s helpful to understand what’s about to happen in your home. This isn’t just about cranking up the thermostat; it’s a calculated, scientific process called thermal remediation. Understanding it can help reduce the fear of damage to possessions during heat treatment.
How Heat Treatment Works
Professional technicians use specialized equipment to slowly and safely raise the ambient temperature of your home to between 120°F and 140°F (49°C to 60°C). They strategically place high-powered fans to circulate this hot air, ensuring it penetrates every crack, crevice, piece of furniture, and even inside walls where bed bugs hide. The goal is to maintain a lethal temperature long enough to kill all life stages of bed bugs.
- Lethal Temperature for Adults: Bed bug adults and nymphs die within minutes at 122°F (50°C).
- Lethal Temperature for Eggs: The more resilient eggs require sustained heat. Holding a temperature of 122°F for about 90 minutes guarantees 100% mortality.
Technicians use thermal imaging cameras and multiple temperature sensors to monitor the process, ensuring there are no “cold spots” where pests could survive. The entire process typically takes between 6 to 8 hours.
Benefits of Heat Treatment
Opting for heat treatment is one of the most effective decisions you can make. It’s a preferred method because of its high success rate (often over 90% on the first try with proper prep) and several key advantages over traditional chemical treatments.
- Comprehensive Eradication: Heat kills all life stages, including chemical-resistant eggs, in a single treatment.
- Speed: You can often re-enter your home the same day.
- Safe Chemical-Free Treatment: It’s an ideal solution for people with chemical sensitivities, allergies, or homes with children and pets.
- Penetration: Heat gets into places sprays can’t, like mattresses, electronics, and wall voids.
The Ultimate Bed Bug Prep Checklist: Your Path to Success
Your participation is not optional- it is the key to success. Technicians can bring the heat, but they can’t make it effective if the home isn’t ready. Following this heat treatment bed bug checklist meticulously is your best insurance against treatment failure. Plan to dedicate at least 4-8 hours to this process.
Phase 1: Removing and Protecting Sensitive Items
The high temperatures are deadly for bed bugs but can also damage certain belongings. Your first step in the bed bug removal preparation checklist is to identify and properly handle these items.
- Aerosols & Flammables: Remove all aerosol cans (hairspray, deodorant, air fresheners), lighters, butane fuel, ammunition, and any other flammable or pressurized items. These can explode under high heat.
- Wax-Based Items: Remove all candles, crayons, wax figurines, and oil paintings. They will melt and create a mess.
- Food & Beverages: Remove all perishable food, chocolate, and medications from the home. Place prescription medications in your refrigerator, or take them with you. Canned goods and unopened pantry items are usually safe.
- Living Things: All houseplants and pets (including fish in tanks) must be removed from the property for the duration of the treatment and cooling period.
- Valuables & Delicate Items: Remove musical instruments (especially wooden ones like guitars and pianos, which can warp), vinyl records, photo albums, and any delicate family heirlooms. Discuss any concerns about specific items with your pest control provider.
Phase 2: Preparing the Structure and Furniture
This phase focuses on maximizing air circulation. Think of it as opening up your home so the heat can reach every possible hiding spot.
- Declutter Everything: Clutter is the enemy of effective heat treatment. Piles of clothes, boxes, or papers create insulation, preventing heat from penetrating. Clear floors of all items. Remove items from under beds and the tops of closets. Minimal preparation is the new standard, meaning you should leave as much in the room as possible to be treated, but it must be organized to allow airflow.
- Furniture Placement: Move all furniture at least two feet away from the walls. This allows hot air to circulate around and behind every piece.
- Open Everything Up: Open all drawers, closets, cabinets, and storage containers. Open luggage, briefcases, and storage totes. The heat needs to get inside these spaces.
- Prepare Beds: This is a critical step in preparing for bed bug extermination.
- Stand the box spring and mattress up against a wall.
- If you have a waterbed, it must be completely drained.
- If you have an air bed (like a Sleep Number), it must be deflated.
- Remove bed skirts. Bed bug mattress encasements can typically stay on.
- Electronics: Unplug all electronic devices, including televisions, computers, and kitchen appliances. The heat can damage sensitive components if they are left running. Most electronics can safely remain in the room if unplugged. You may be advised to cover large-screen TVs with a non-linens blanket to deflect direct heat.
- Blinds and Drapes: Take down all vinyl or plastic blinds, as they can warp. Fabric curtains can be left hanging but should be opened.
Phase 3: The Laundry Protocol
This is one of the most labor-intensive but non-negotiable steps for bed bug heat treatment readiness. Bed bugs and their eggs can be hiding in any fabric item.
- Collect All Fabrics: Gather all clothing, linens, towels, stuffed animals, and other washable fabrics from floors, closets, and drawers.
- Seal in Bags: Place these items in plastic bags and seal them tightly before moving them to the laundry area to prevent spreading any bugs.
- Wash and Dry on High Heat: Wash the items if they are dirty, but the most important step is the dryer. Dry everything on the highest heat setting for at least 30 minutes. This temperature will kill all bed bugs and eggs.
- Store in Clean Bags: Once dried, immediately place the clean, treated items into new, clean plastic bags and seal them. Do not reintroduce them to the treatment area until after the service is complete.
Phase 4: Final Cleaning
A final deep clean removes live bugs and debris, allowing you to better monitor for activity post-treatment.
- Vacuum Thoroughly: Use a vacuum with a crevice tool to meticulously clean all floors, carpets, baseboards, bed frames, and upholstered furniture. Pay special attention to seams, tufts, and edges.
- Dispose of Vacuum Bag: Once finished, immediately remove the vacuum bag, place it in a sealed plastic bag, and dispose of it in an outdoor trash can.
What to Expect on the Day of Treatment
Your hard work is done. Now it’s time for the professionals to take over. Knowing what to do on the day of service will help reduce stress.
- Final Walk-Through: Do a final check to ensure all pets, plants, and heat-sensitive items have been removed.
- Confirm Preparations: When the technicians arrive, walk through the home with them. They will confirm that the bed bug treatment preparation is complete and may have last-minute suggestions. This is the time to ask any final questions.
- Make Arrangements to Be Away: You, your family, and your pets must vacate the premises for the entire duration of the treatment, which is typically 6-8 hours. Plan an activity for the day.
- Keep Communication Open: Ensure the pest control company has your cell phone number in case they need to contact you during the treatment.
Post-Treatment Care and Preventing Re-infestation
The heat is off, but your work isn’t quite over. Proper post-treatment care is essential for long-term success.
- Wait for the All-Clear: Do not re-enter your home until the technicians have informed you it is safe. The home will need a few hours to cool down to a comfortable temperature.
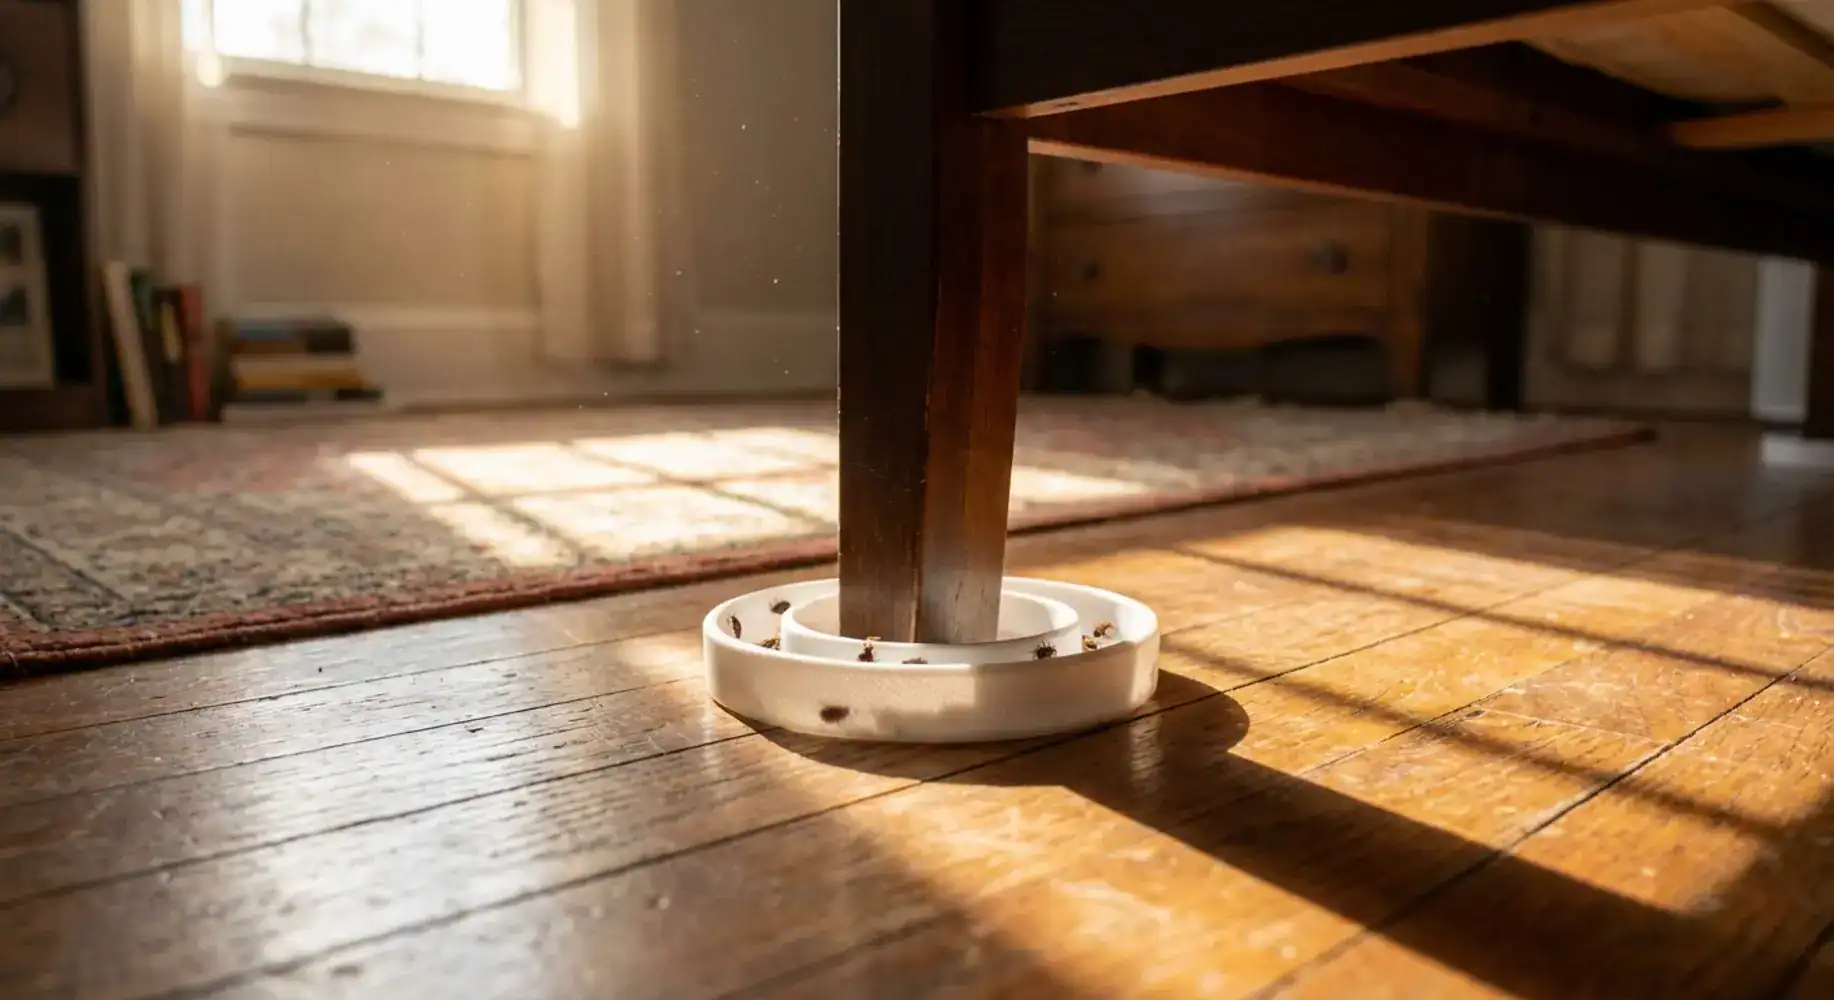
- Monitor the Treated Areas: It’s normal to see dead bed bugs after the treatment. However, you should monitor for any signs of live activity. Place bed bug interceptor traps under the legs of your bed. These simple devices can help you detect any surviving bugs.
- Reintroduce Items Gradually: Bring your laundered clothes and other removed items back into the home. Unpack them and put them away. You can plug your electronics back in once the home has fully cooled.
- Continued Vigilance: The professional heat treatment has eliminated the current infestation, but it doesn’t prevent a new one. Be mindful of how bed bugs are introduced into homes- typically via travel, used furniture, or visitors. Inspect hotel rooms when you travel and be cautious about bringing secondhand items indoors without a thorough inspection.
Myths vs. Facts About Bed Bug Heat Treatments
Misinformation can cause significant misunderstandings about preparation requirements and lead to treatment failure. Let’s clear up some common myths.
Myth: I hired a pro, so I don’t need to do any prep work.
Fact: This is the most dangerous misconception. As detailed above, proper bed bug treatment
preparation is absolutely critical to the success of the treatment. Pest control companies require client cooperation, and failure to prepare can void your warranty or lead to additional charges.
Myth: Heat treatment will destroy my electronics and furniture.
Fact: While there is a risk of damage to certain sensitive items, professional heat treatments are generally safe for most household goods, including electronics. Technicians use a slow, controlled heating process and constant monitoring to keep temperatures within a safe range for most belongings. Following the prep list by unplugging devices and removing extremely delicate items is the best way to prevent damage.
Myth: I need to wash everything again after the heat treatment.
Fact: You do not need to re-wash items that were left in the home during the treatment. The heat has already sanitized them by killing any bed bugs and eggs. Only the items you removed and laundered before the treatment need to be brought back in.
The High Cost of Cutting Corners
What happens if you don’t prepare properly? The financial concerns regarding professional treatment services can multiply quickly.
Research indicates that up to 20% of heat treatments fail due to improper homeowner preparation. A standard heat treatment can cost between $1,000 and $4,000. If the treatment fails because you didn’t drain the waterbed or left a closet packed with clutter, you will likely have to pay for a second full treatment.
Furthermore, many companies will charge extra fees or even refuse to treat a property that has not been prepared according to their guidelines. Taking the time to follow the professional heat treatment preparation guide saves you money, stress, and the emotional toll of a continued infestation.
Common Questions About Preparing for Professional Heat Treatment: A Checklist
Can heat treatment damage my TV?
It’s unlikely if prepared correctly. The key is to unplug the TV and all other electronics. Some companies recommend covering the screen with a light blanket. The slow, monitored heating process is designed to keep temperatures below the damage threshold for most modern electronics.
Do I need to remove everything from my closets for bed bug treatment?
You should not remove everything. Items should be left in the closets to be treated by the heat. However, the closets should not be over-stuffed. Clothes should be hung loosely, and items on shelves should be arranged to allow for maximum air circulation.
Will heat treatment set off my fire alarms or sprinklers?
Professionals are trained to handle this. They will typically disable smoke detectors during the treatment. If you have a fire sprinkler system, you must inform the company beforehand. They have specific protocols to bypass or protect the sprinkler heads, which can activate at temperatures reached during treatment.
Can bed bugs survive a heat treatment?
It is very rare for bed bugs to survive a properly executed heat treatment in a well-prepared home. Survival typically only occurs when “cold spots” are created by clutter, unpacked boxes, or items that absorb and block heat (like a full waterbed), preventing the lethal temperature from being reached.
Should I leave my electronics in during bed bug heat treatment?
Yes, you should leave most electronics in the treatment area. Bed bugs can and do hide inside them. The crucial step is to unplug everything. The internal components are generally safe as long as they are not powered on during the heating process.
References & Expert Sources
- Thomas Pest Services Bed Bug Heat Treatment Preparation Sheet (Bed Bug Heat Prep Checklist)
- Batzner Pest Control Bed Bug Heat Treatment Checklist (Bed Bug Heat Prep PDF)
- Braman Termite & Pest Elimination Bed Bug Heat Treatment Preparation Sheet (Braman Heat Prep Checklist)
- Crownmax Bed Bug Heat Treatment Preparation Checklist (Bed Bug Heat Prep Checklist)
- University of Kentucky Department of Entomology – Bed Bug Information (entomology.ca.uky.edu)
- Environmental Protection Agency (EPA) – Bed Bug Information (www.epa.gov)
- Virginia Tech Department of Entomology – Bed Bug Biology and Management (Bed Bug IPM Guide)
- University of Minnesota Extension – Bed Bugs and Thermal Treatment (UMN Bed Bugs Info)
- National Pest Management Association – PestWorld.org (www.pestworld.org)
- Terminix Bed Bug Information Center (Terminix)
Final Thoughts: Your Actionable Bed Bug Heat Treatment Prep Plan
Facing a bed bug infestation is an incredibly stressful experience, but you are taking the most effective step toward reclaiming your home. The success of a professional heat treatment rests heavily on your shoulders. By following this comprehensive bed bug prep checklist, you are not just ticking boxes; you are actively participating in the extermination process. You are eliminating the cold spots, exposing the hiding places, and ensuring that every bug and egg is subjected to the lethal heat. Do not let the difficulty in identifying bed bug-infested areas or the stress related to temporary relocation deter you. Your thorough preparation is the best investment you can make for a successful outcome and, most importantly, for your peace of mind.
3 thoughts on “Bed Bug Prep Checklist: Sanity-Saving Steps for Heat Treatment”