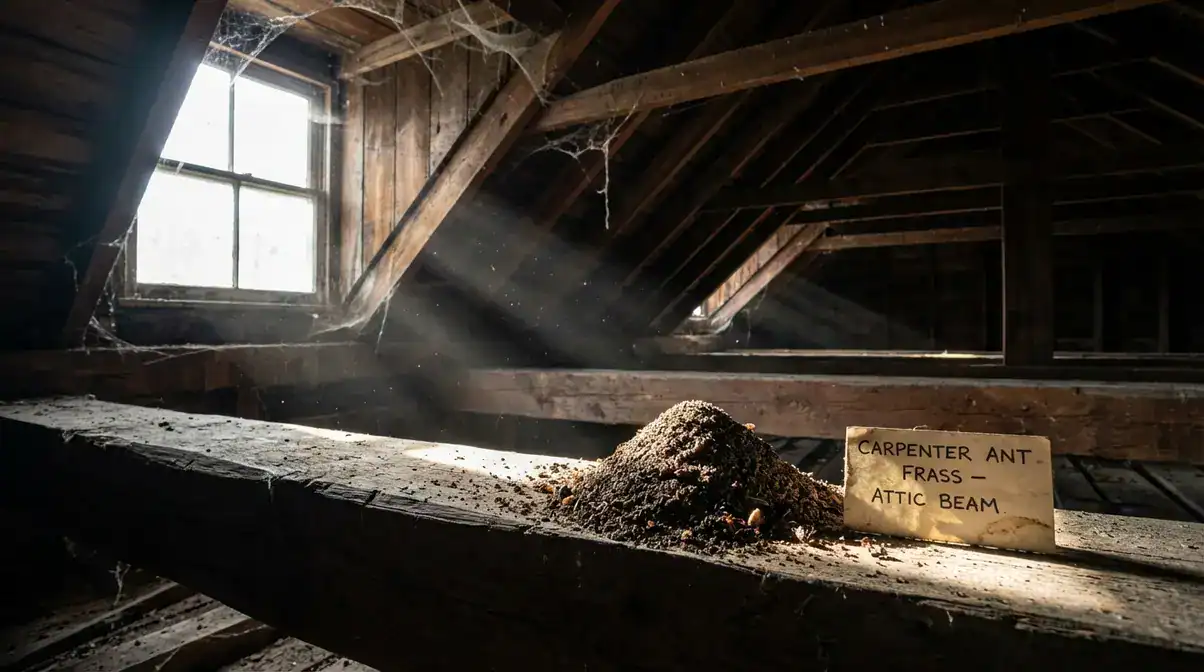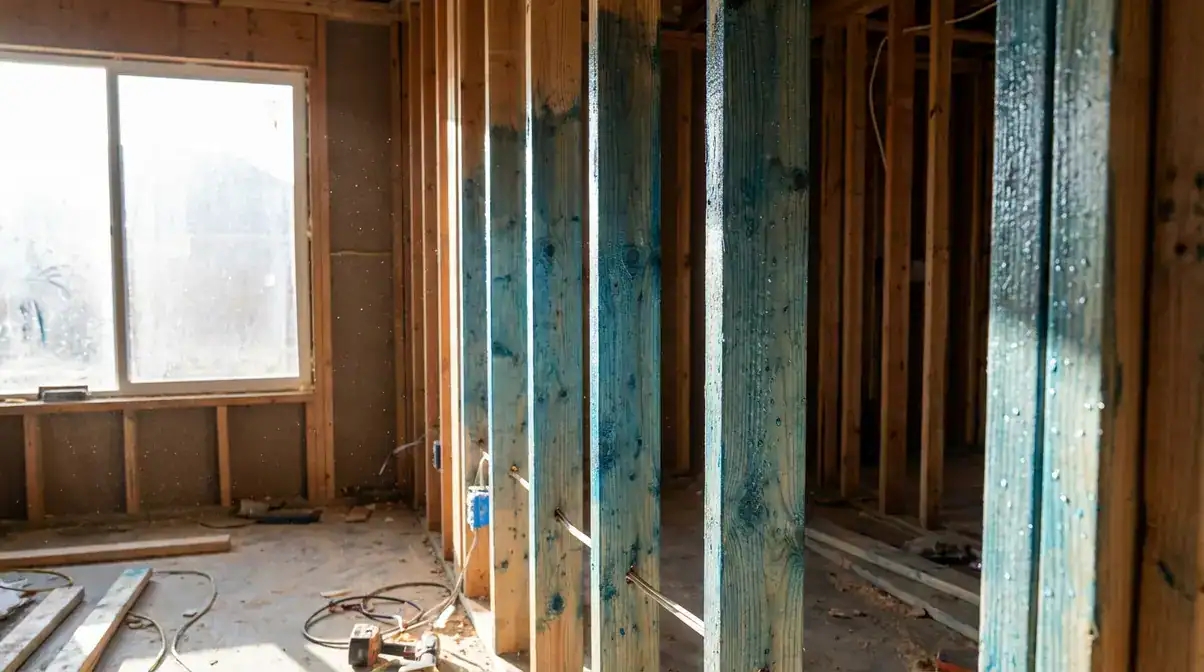
Are the traditional metal termite shields on your foundation the ultimate defense for your home, or just a thin piece of metal offering a false sense of security? With termites causing an estimated $5 billion in property damage annually in the U.S., understanding the real-world application and proper installation of these barriers is critical. A correctly installed shield is more than a simple barrier- it’s an indispensable inspection tool in your home’s termite defense system.
How do you install termite shields on a foundation?
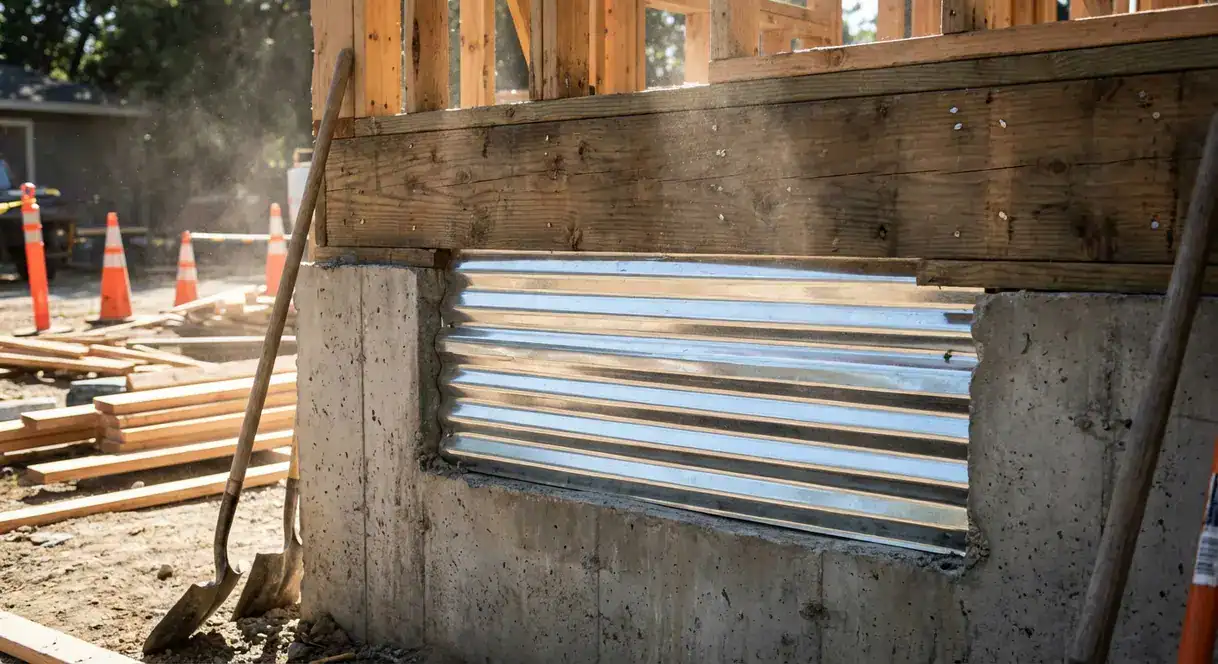
To install termite shields, first clean the foundation surface. Place the shield on top of the foundation wall or pier before the sill plate is installed. Ensure the shield extends at least 2 inches outward from the foundation face and is bent downward at a 45-degree angle. All joints and corners must be soldered or sealed with a 6-inch overlap.
What Exactly Are Termite Shields and How Do They Work?
At its core, a termite shield is a physical barrier, typically made of metal or a composite material, placed along the top of a home’s foundation. Its primary purpose isn’t to stop termites dead in their tracks. Instead, its design is more strategic. The shield forces subterranean termites, who travel upward from the soil, to build their tell-tale mud tubes out and around the exposed, angled edge of the shield.
This mechanism turns a hidden threat into a visible one. Because termites need a protected environment to travel, they build these earthen tunnels. When they encounter the impassable shield, they must build their tubes on the exterior, making them easily detectable during a routine pest inspection. This early warning system is the true value of a properly installed foundation termite protection system, allowing homeowners to take action before significant structural damage occurs.
Common Termite Shield Materials
The choice of material directly impacts the longevity and effectiveness of the barrier. Each has its pros and cons, which are crucial for homeowners to understand.
- Galvanized Steel: A common and cost-effective option, galvanized steel is steel coated with a layer of zinc to prevent rust. It’s durable but can corrode over time, especially if it comes into direct contact with pressure-treated wood or certain types of concrete. The minimum recommended thickness is 0.02 inches (0.5 mm).
- Stainless Steel: This is a premium option offering superior corrosion resistance and durability. It’s ideal for coastal areas or regions with high humidity. While more expensive, its lifespan is significantly longer. Recommended minimum thickness is 0.01 inches (0.4 mm). A well-known product, Termimesh, uses a fine woven mesh of type 725 stainless steel as a termite barrier.
- Copper: Copper is highly durable and naturally resistant to corrosion. It’s often used in high-end construction and for historical restorations. Like stainless steel, it is a long-lasting but more costly material. The minimum thickness should be 0.01 inches (0.4 mm).
- Composite Membranes: Modern termite barrier systems often use advanced composite materials, like the Polyguard 650 TRM. These are puncture-resistant, peel-and-stick membranes that seal the entire foundation, including joints and pipe penetrations, offering a comprehensive, pesticide-free barrier.
The Critical Importance of Foundation Termite Protection
Ignoring termite prevention can be one of the most expensive mistakes a homeowner can make. Termites affect approximately 600,000 homes in the U.S. each year. The resulting repairs often average around $3,000 but can easily exceed $10,000 for severe structural damage. These costs are rarely covered by standard homeowner’s insurance policies.
The proactive installation of termite shields is a powerful termite control measure. While it represents an upfront cost, the value comparison is clear. The investment in a physical barrier during construction is minimal compared to the potential for catastrophic repair bills down the road. It provides peace of mind and serves as a key component of an integrated pest management (IPM) strategy. That approach combines physical barriers, regular inspections, and targeted treatments if necessary.
Exploring the Different Types of Termite Shields
Termite shields are not a one-size-fits-all solution. The best choice depends on your home’s foundation type, your regional climate, and local building codes.
- Continuous Wall Shields: This is the most common type, installed along the top of continuous concrete or block foundation walls. It provides a perimeter of protection before the wood framing (sill plate) is laid down.
- Pier Cap Shields: For homes with a pier-and-beam foundation, these shields are specifically designed to cap individual masonry piers. They sit between the top of the pier and the wooden beam or joist, forcing termites into the open if they try to climb the pier.
- Below-Slab Physical Barriers: These are comprehensive membranes, like those from Stego Industries, installed before the concrete slab is poured. They cover 100% of the soil, sealing off cracks and construction joints that termites could otherwise exploit.
- Composite Flashing Systems: Products like YorkShield 106 PT combine copper or steel with a polymer layer. This design is particularly useful for isolating the metal shield from pressure-treated lumber, preventing the galvanic corrosion that can degrade traditional shields.
In high-risk areas like the Southeastern U.S., subterranean termite activity is rampant, and building codes often mandate some form of termite protection. That makes the choice of the right system even more critical.
DIY vs. Professional Termite Shield Installation: Making the Right Call
A common question homeowners ask is, “Can I install termite shields myself?” While a DIY termite shield installation is technically possible for a skilled individual, the effectiveness of the barrier hinges entirely on a flawless installation. There is very little room for error.
DIY InstallationPros
Cons
|
Professional InstallationPros
Cons
|
Community discussions on forums like Reddit often highlight homeowners’ concerns about achieving a perfect seal. Even a tiny gap can be exploited by termites. For a new home construction, integrating the installation into the professional building process is almost always the better choice. For retrofitting or smaller projects, a DIY approach can work if you are exceptionally meticulous.
Your Step-by-Step Termite Shield Installation Guide
This guide covers the fundamental steps for installing traditional metal shields on new construction foundations. Remember to always consult the manufacturer’s specific instructions and local building codes.
Tools and Materials Needed
- Termite shields (galvanized steel, stainless steel, or copper)
- Tin snips or metal shears
- Caulking gun and appropriate sealant/mastic
- Measuring tape
- Hammer
- Drill with step bit (for anchor bolt holes)
- Metal file
- Heavy-duty work gloves
- Safety glasses
Installation on a New Concrete or Block Foundation
- Prepare the Foundation Surface: Ensure the top of the foundation wall is clean, dry, and free of debris. A smooth, level surface is essential for the shield to lie flat.
- Measure and Cut the Shields: Measure the perimeter of your foundation. Using tin snips, cut the termite shield sections to length. Remember to account for extra material needed for overlaps at joints and corners.
- Position the Shield: Place the termite shield directly on top of the foundation wall. The shield should be positioned so it extends outward from the exterior face. The standard specification is for the shield to extend 2.75 to 3.14 inches (70-80mm) outward.
- Create the Downward Bend: The outer edge of the shield is its most critical feature. Bend the final 1.18 inches (30mm) of the shield downward at a sharp 45-degree angle. This angled lip is what forces termites into the open.
- Accommodate Anchor Bolts: Where anchor bolts protrude from the concrete, you’ll need to create holes. A common DIY trick is to gently tap the shield with a hammer over the bolt to create an indent, then use a step bit to drill a clean hole. The hole should be as snug as possible.
- Seal Joints and Corners: This is where many installations fail. At every joint where two pieces of shield meet, you must have a minimum 6-inch overlap. Apply two continuous beads of high-quality construction sealant or mastic between the overlapping pieces. For corners, miter the joints and solder, braze, or weld them for a permanent, impenetrable seal.
- Seal Around Penetrations: Any pipes or conduits coming through the foundation must be sealed meticulously. Cut the shield to fit tightly around the penetration and then apply a generous amount of mastic to seal any remaining gaps completely.
- Install the Sill Plate: Once the shield is in place and all seals are complete, the pressure-treated sill plate (the first piece of wood framing) can be installed directly on top of it.
Common Mistakes to Avoid During Installation
Understanding what can go wrong is just as important as knowing the right steps. The difficulty in understanding the termite shield installation process often leads to these common errors.
- Insufficient Overhang: The shield MUST extend far enough from the foundation wall (at least 2 inches) and have a proper 45-degree downward bend. A shorter, flat overhang can be easily bridged by termite mud tubes.
- Improperly Sealed Seams: Using the wrong sealant or not overlapping joints correctly creates easy entry points. Remember the 6-inch overlap and two beads of sealant rule. Soldering corners is the gold standard for strong termite defense systems.
- Ignoring Penetrations: A perfect perimeter shield is useless if a termite can crawl up an unsealed plumbing pipe. Every single penetration needs to be flawlessly sealed with mastic.
- Sharp, Unfiled Edges: This is a major safety hazard. The cut edges of metal shields are razor-sharp. Always wear heavy-duty gloves and use a metal file to dull any sharp corners or edges after cutting.
- Creating a Thermal Bridge: In some climates, a continuous metal shield can create a thermal bridge, potentially leading to condensation issues. Modern composite shields or those with polymer layers help mitigate this concern.
Long-Term Maintenance and Inspection
Termite shields are not a “set it and forget it” solution. Regular inspection is key to their effectiveness.
How often should termite shields be inspected? You or a professional should inspect your foundation and the edge of the termite shields at least once a year. The best times are in the spring and fall when termite activity is often highest.
Maintenance Checklist:
✓ Clear the Perimeter: Keep mulch, firewood, and dense vegetation at least 12 inches away from your foundation. This removes potential termite food sources and ensures a clear line of sight for inspection.
✓ Check for Mud Tubes: Look carefully along the entire exposed edge of the shield for any signs of the earthen tunnels termites build. If you see them, contact a professional pest control service immediately.
✓ Inspect for Damage: Check for any sections of the shield that may have been bent, corroded, or damaged during landscaping or other work. Repair any damaged sections promptly.
✓ Ensure Proper Drainage: Water pooling against the foundation creates the moist conditions that termites love. Ensure your gutters and downspouts direct water well away from your home.
Cost Analysis and Value Comparison of Termite Shields
The termite shield cost varies based on material, foundation size, and whether you opt for DIY or professional installation.
- DIY Material Costs:
- Galvanized Steel Pier Caps: $1.80 – $3.20 per linear foot.
- Composite Membranes (e.g., YorkShield 106 PT): $2.50 – $4.00 per linear foot.
- High-End Peel-and-Stick Barriers (e.g., Polyguard 650 TRM): $3.75 – $5.50 per square foot.
- Professional Installation Costs:
- Hiring a professional typically adds $3 to $7 per linear foot for labor, depending on the complexity of the job and local market rates. For an average home, this can add $500 to $2,000+ to the total cost.
While professional installation is more expensive upfront, the cost vs. value of termite shields becomes clear when you consider the alternative. A single termite infestation can lead to thousands of dollars in repairs. Therefore, the cost of a properly installed, long-lasting termite barrier system is a sound investment in protecting your property’s value and structural integrity.
Real-Life Case Studies: Do Termite Shields Really Work?
Anecdotal and statistical evidence strongly supports the effectiveness of properly installed termite shields as part of a larger termite management strategy.
This level of detail-oriented installation showcases the professional standard required to create a truly effective barrier against subterranean termites. In contrast, many homeowners who self-install often skip these crucial adhesion and sealing steps, leading to failures down the line.
Conversely, pest control forums are filled with stories from homeowners who discovered termite damage despite having shields. Upon professional inspection, the cause is almost always traced back to installation errors: unsealed seams, gaps around pipes, or insufficient overhang, which allowed termites to bypass the barrier undetected. These cases highlight that the shield itself is only as good as its installation.
Common Questions About How to Install Termite Shields on Foundations
Where should termite shields be installed?
Termite shields should be installed on top of the foundation wall, pier, or grade beam before the wooden sill plate or framing is put in place. The key is to create a continuous, unbroken barrier between the masonry/concrete substructure and all wooden components of the house that termites might feed on.
Are termite shields effective against all types of termites?
No, they are primarily effective against subterranean termites, which are the most common type that attacks homes from the ground up. Termite shields do not offer protection against drywood or Formosan termites, which can infest a home from the roofline or through airborne swarms, completely bypassing the foundation.
Do I need termite shields if my home has a treated wood sill plate?
Yes, it is highly recommended. While pressure-treated wood is resistant to termites, it is not termite-proof. Furthermore, termites can bypass the treated sill plate and travel up through interior wall voids to reach untreated framing members higher up in the structure. The shield provides an essential physical inspection point.
Can termite shields be installed on an existing home?
Yes, retrofitting is possible but more complex and costly. It often involves jacking up sections of the house to slide the shield between the foundation and sill plate. A more practical retrofit option is to use specialized flashing that can be jambed and sealed into the mudsill joint. A pest control professional can best advise on options for an existing home.
How much overhang should a termite shield have?
A termite shield needs a minimum overhang of 2 inches beyond the exterior face of the foundation. Crucially, the final 1 to 1.5 inches of this overhang must be bent downward at a 45-degree angle to be effective. This design forces termites to build their tubes out into the open where they can be seen.
References & Expert Sources
- YorkShield 106 PT Installation Instructions
- Pango Wrap Termite Barrier
- InspectApedia Termite Shield Guide
- YouTube – How To Make Install Termite Shields Workshop Large Shed
- Polyguard Products – 650 TRM Termite/Root/Methane Barrier
- Fine Homebuilding Forum – Termite Shield Discussion
- YouTube – How to install a termite barrier (Habitat for Humanity)
- YouTube – Termite Shield installation (Foam Insulation)
- Termite Barriers for Crawl Spaces
- International Code Council – R318 Protection Against Subterranean Termites
- United States Environmental Protection Agency – Termite Control
- University of Kentucky Entomology – Protecting Your Home Against Termites
Final Thoughts: Your First Line of Defense
Ultimately, termite shields are an essential and effective component of a comprehensive termite prevention strategy when- and only when- they are installed with meticulous attention to detail. They are not a magic bullet but a crucial inspection tool that can save you from catastrophic repair costs. Whether you are building a new home or looking to fortify an existing one, understanding the principles of a proper termite barrier installation empowers you to protect your most valuable asset. The importance of preventative measures against termites cannot be overstated, and a well-installed shield is your vigilant, silent guardian against these destructive pests.